Sunday, October 26, 2014

Xeoma - yet another option for camera management at home

I've been looking for new camera software and the recent test was done with xeoma which isn't open source softwar,e but it also is not that expensive compared to many other solutions especially when you want to have your recorder something that you can easily upgrade and maybe even have it done something else as well than just surveillance monitoring. Usually though surveillance monitoring is so heavy that device that records doesn't do much more than just record.

Xeoma has webpages at http://felenasoft.com/xeoma/en/ where one can find all the needed information and download the software itself. Xeoma works on Windows, Linux, Max OS and even on Android. For my personal use Linux is the one that is most important, however I don't exclude windows really as it would be good for remote access possibilities. Why? Because the cameras will not be monitored by me but e.g. my parents who are quite tight to Windows world. :) The version used in this quick review was 14.7.18 64-bit for both Linux and Windows also should be noted that I used the Trial period version during this initial review.

First startup

First time I started xeoma for testing, it was very nice surprise to see that Xeoma could find local webcam and also my IP cameras (on Windows) that were on same IP subnet with the computer I started the application with. It didn't however find automatically the cameras that were on my other subnet in my local network, but that is understandable. The cameras that were found automatically were running default settings and did not have restricted access, which probably helped quite a bit. This initial device search made it very easy to check the configurations and start testing some of the features especially as for me it showed more than one camera. Here is a sample photo with some cameras showing in the xeoma monitoring screen.


I must admit that the User interface feels a bit confusing at first and there are some problems with it as well, but once you get used to it it is usable. For example I could not use "tab key" on keyboard from going from one field to another which I have used to do a lot, but that is not a blocker just a minor annoyance. Also when typing the camera settings when typing faster the info row was not updating properly. Anyway these are just something that you have to handle only when you setup the cameras. After you have setup everything and have all the recording and cameras etc. done properly there is not really anything to do anymore and then the simplicity of the UI kicks in when monitoring the cameras.

By default the cameras added to Xeoma have very simple default module chain that has the actual camera, scheduling, motion detect and previewing and archive modules enabled. This is quite nice combination for many, however for my use I removed the schedule as the first things what I did just to make the chain simpler and because I want to have cameras always on recording mode.

For my use motion detection is the main thing that I need which has been made quite easy in xeoma. Also the default chain contains automatically the motion detection as said above, so it was easy to configure from the start.

Connecting to remote Xeoma server

Also after starting up the xeoma on Linux and checking the password with following command
./xeoma.app -showpassword
I started xeoma on Windows machine, entered the details of my linux machine and there it was instantly viewing of the content from my Linux machine on Windows machine, so simple! Almost love at the first sight ;) On Xeoma client application side to go through following flow "Main Menu >  Remote access > Connect to" and there entered IP address kept the port the same 8090 and added the password from the Linux command line. Of course this assumes that you dont have firewalls or have made rules for the 8090 port on the Linux machine.

Impressions

So far Xeoma looks very promising, but I have to do longer term tests to find out if it suites for all of my needs or not. One thing that I noted was that the memory usage of xeoma is reasonable and it does not take too much memory by default at least in this kind of sort time testing. If this is the final solution for my environment is something that only time will tell :)

Tuesday, June 24, 2014

Looking for video survaillance solution

I have been looking for a while for good solution for surveillance software and it has been quite hard without putting lots of money into it. First try was using the build in solutions of the cameras, i.e., FTP uploading. This was proven quite hard as it introduces a lot of points for errors. Each camera had to be controlled separately for settings from the webui pages. The most issues were caused by the old D-Link DNS-323 nas running 2x500G harddrives. The NAS was chosen over E-mail uploads as the e-mail uploads need constant network connection as well as lots of bandwidth if one extends the cameras up to 8 that is the current plan. Also because some of the cameras will watch home yards which have lots of trees and bushes that move in the wind, it makes quite a lot of traffic which is not really suitable for e-mails.

After all the problems with the solution above I started to look for NAS solutions that have surveillance features such as QNAP or Synology, the cost on those would be quite high as the hardware itself costs hundreds of € and then the license another X€. This would also mean that one would be on tight to that hardware and new requirements in the future would mean buying completely new hardware without possibility to really just do e.g. cpu or memory upgrades. Similar problem would be also with devices like dahua NVR's which have limited hw specs and in the end as the plan is to try different type of cameras buying NVR from one brand could limit the cameras that can be attached.  So the plan changed to have dedicated computer to run on these.

After the decision about dedicated computer I found out about iSpy that have been using for a while. iSpy is quite nice solution and one of the best thing is that it is free and open source (excluding some special services). After using it for couple of months it still feels that it is not the best and seems to be a bit too complex for and hard to use. After some time one of my friends pointed out xeoma which seems like an interesting option, which I will test next.


Currently I have 3 cameras in the network, Dahua IPC-HFW3200SP PoE, 2Mpix Full HD camera, Foscam FI8918W VGA WiFi camera and then one unbranded 2Mpix PoE bullet camera. More cameras will come later when I get the base of the system done and running. Only one of the cameras is currently in the final position at the moment with proper cables etc.

Tuesday, October 16, 2012

Nemo Mobile on CuBox

Finally all the needed stuff for cubox have been merged to Nemo and Mer and I got time to cleanup the adaptation bits a bit as well. So now we have Nemo Mobile running on CuBox, there are some bits and pieces still missing but it can be already used to some extend. Main issue seems to be with the graphics drivers, but anyway here is a short video of it..

Creating your own image

To create an image you need to install Mer SDK and then login to the sdk as guided. Download the .ks file

curl -O  http://sage.kapsi.fi/sagestechblog/cubox/cubox-2012-10-16-armv7hl.ks

And start the image build:

PATH=$PATH:/sbin sudo mic cr raw cubox-2012-10-16-armv7hl.ks --arch=armv7hl

Next thing is to put the image to the microsd card, example guide in nemo wiki. After this is done put the microsd card to the device and that is it.

Nemo Mobile UI on Snowball

I have been working a bit again with the snowball and now I got the Nemo Mobile UI booted on the device. It is still missing some bits and pieces but it is already something that can be easily tested and reproduced.

Here is a quick tutorial how to make an image yourself. First you need to get the Mer Platform SDK to build the images to which there is quite nice installation guide in the Mer wiki pages.

After you have installed the Mer Platform SDK log in and download the .ks file for building the image.

curl -O http://sage.kapsi.fi/sagestechblog/snowball/snowball-2012-10-16-armv7hl.ks

After getting the .ks file you need to modify it a bit, and instructions for that are in the .ks file so you need to do some reading ;).

When .ks file is modified you can build the image with following command:

PATH=$PATH:/sbin sudo mic cr raw snowball-2012-10-16-armv7hl.ks --arch=armv7hl

After image is built you can put the image to microsd card by following for example Mer wiki.

Now you are set for booting the device, have fun. Here is a very short video about the performance.

Thursday, August 2, 2012

Booting Mer on CuBox

So here it is CuBox very small and quite nice piece of hardware made by SolidRun. It includes for example HDMI, 2x USB, 1x eSATA, build in console with microUSB and best of all it is packaged to very nice and small casing. By default Cubox developer platform comes with sd card that has ubuntu installation on it, but when I got the device I had already decided to try to run Mer on the device.

After some time I got the device booted and posted a message in the twitter about that as well and promised an blog post about how everyone else can do the same thing as well, so here it is.

Booting Mer on cubox is relatively easy, what you need to do is to get the image (.raw.bz2 file) I made from http://sage.kapsi.fi/Mer/CuBox/20120801/ and use dd to write the image to the sd card. Guide to image writing can be found from  http://wiki.merproject.com/wiki/Nemo/Installing#Raw_Image_Write

After the image is written to the sdcard enter the sdcard to your CuBox and power it on. Currently the image has a bit limited functionality, however the following features I tested:
- Serial with microUSB
- Ethernet via RJ45 connector
- HDMI with normal fbdev driver without any hardware acceleration
- USB ports ;)

I bet many other features work as well, but for now those were the most interesting ones for me to get the device booting and to network. The image that is available on the URL above boots to full screen xterm.

I will continue working on CuBox in near future and try to get the 3D driver working on it. If you are interested of helping to get this done feel free to come to chat with me to Freenode IRC network on channels #mer and #nemomobile.

Sunday, May 20, 2012

Setting up qt-components "devel environment"

I have been fighting myself a lot about how to start learning QML and contributing to QML/qt-components based application in Nemo Mobile. I tried to use qt-creator some time ago, but that didn't work out as I would have liked it to (read was not so simple that I would have though, as Nemo isn't official target). After discussing with some of the community developers decided to try out to just compile applications manually on my desktop env and then run apps on there and try what my modifications did and later package for the real environment. So here is what I finally did..

First I needed to install qt-development tools for the linux distribution I have currently installed, i.e., openSUSE 12.1. So I needed to install libqt4-devel package:
sudo zypper install libqt4-devel
Then it was time to get the qt-components, which can be found from gitorious. So get them from there and install:
git clone git://gitorious.org/qt-components/qt-components.git
cd qt-components
./configure -meego
make
sudo make install
cd ..
Then it was time to get themes working for the qt-components. For this I installed first the base theme called meegotouch-theme:
git clone git://gitorious.org/meegotouch/meegotouch-theme.git
cd meegotouch-theme
qmake
sudo make install
cd ..
And then I installed the actual theme. For this I used the default theme that is provided also in Nemo Mobile called meego-handset-theme-darko:
git clone https://github.com/jpavelek/meego-handset-theme-darko.git
cd meego-handset-theme-darko
sudo mkdir /usr/share/themes/darko
sudo cp -r meegotouch/ index.theme /usr/share/themes/darko/
sudo cp -r blanco/ /usr/share/themes/
# Blanco has links to meegotouch which we add from darko theme
sudo ln -s darko/meegotouch /usr/share/themes/meegotouch
cd ..

And finally I took one of the qt-components/qml based applications that is in Nemo to try out my configuration
git clone https://github.com/nemomobile/qmlfilemuncher.git
cd qmlfilemuncher
qmake
make
./qmlfilemuncher
After this I had the QML/qt-components application running without any problems. So time to start learning more QML, fixing bugs and implementing features. :) Of course this doesn't include yet all the libraries and API's use in Nemo Mobile, but it is a start.

Friday, May 11, 2012

Tizen Developer Conference Day 3


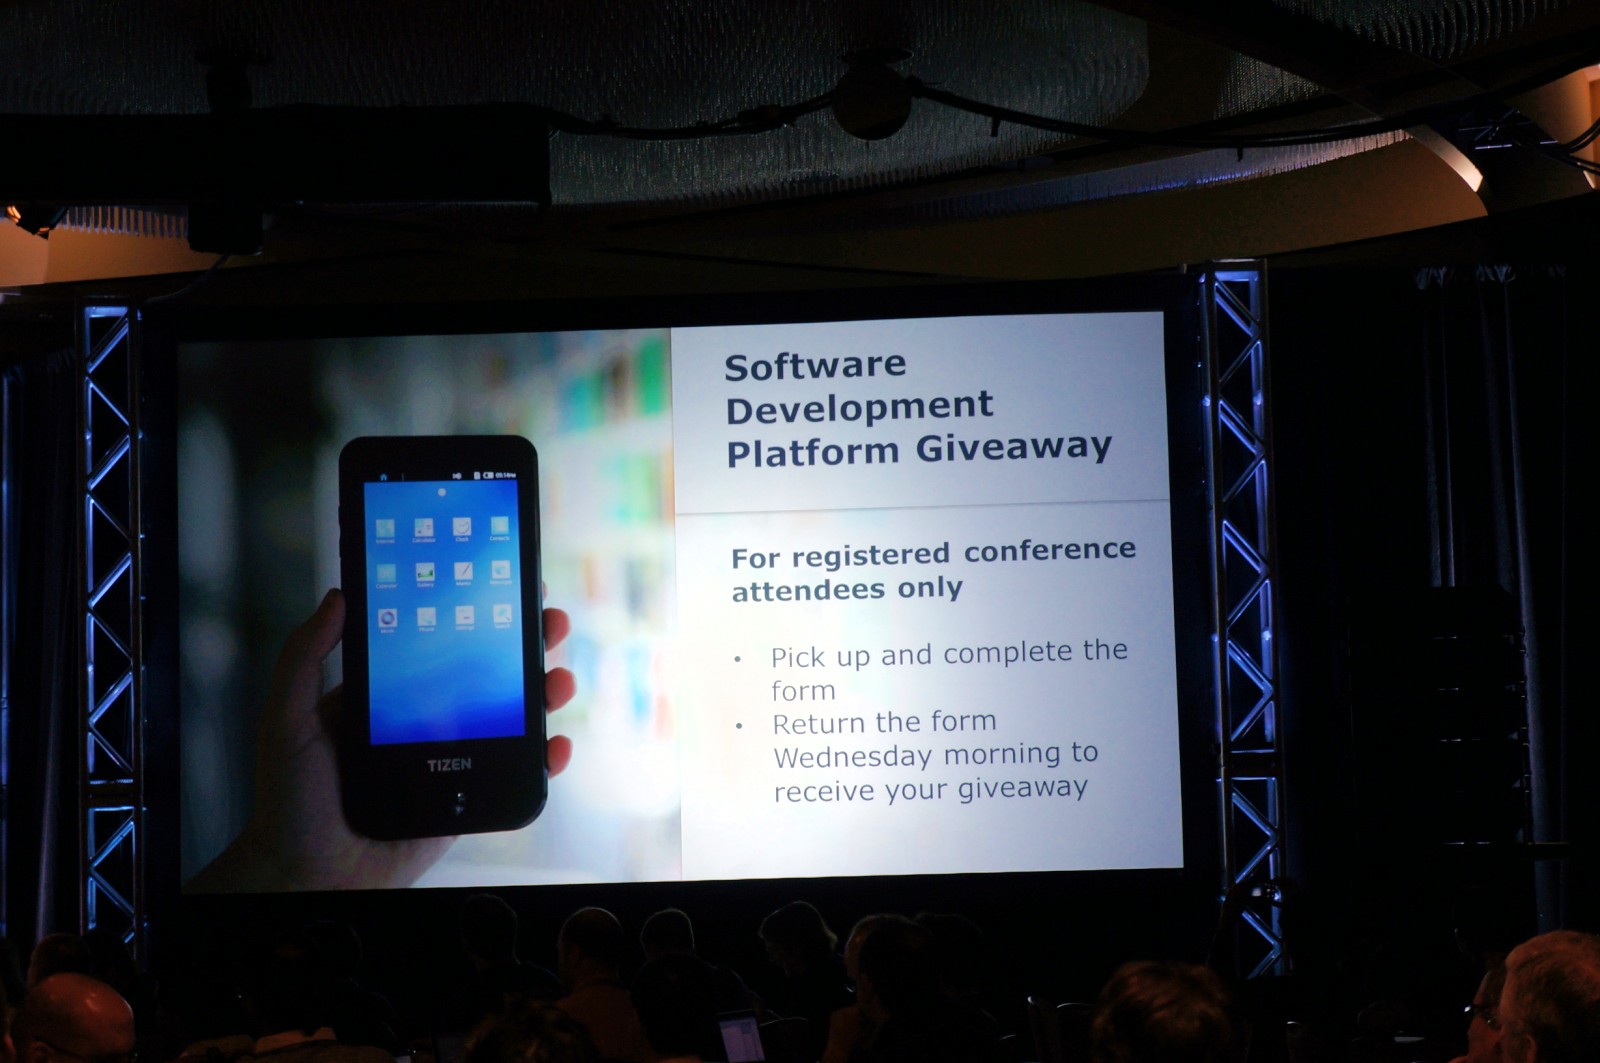
Similar to the day 2 the third day started with a breakfast at the Atrium level and was in my opinion very good as well. After the breakfast I headed to the street level to get the giweaway present, i.e., Tizen Developer Device that was presented yesterday during the keynote given by the two Tizen TSG members Imad and Jong-Deok.


After getting the device it was of course time to check the content which was pretty basics, the device itself, micro usb cable, charger, which was surprisingly with a euro plug instead of US plug and a converter from euro plug to US wall socket. Also a cleaning "thingy" and 4G USB memory stick with SDK files inside were provided.


After unpacking and booting and testing the device a bit I headed towards the talk rooms to get some more information about the happenings around Tizen.

First talk of the day that I went to listen was "Developer Highlight Presentations: HTML5 Apps Development for Tizen Devices" which was a bit hard to follow probably mainly as the jetlag still prevented me from sleeping enough and I still wasn't awake really. :P

Next went to listen "HTML5 Canvas vs CSS3" presentation which was quite interesting and after the presentation listener had a better understanding about the differences. Also I was interested about the demos shown and how capable CSS3 actually is.


And of course one needs to eat as well, so went for a lunch in the Atrium level a bit after noon. Food was good as usual.


As a last talk I went to listen "Enabling Gordova (aka PhoneGap)" talk by Rene Pourtier.


The final part of the event for me was the Tizen SDK Hands-on session which was very nice session and gave very detailed and quick introduction to the different features of the SDK. The session consisted of three different parts, first part was how to use the SDK itself and how to get started of creating application with a template and how to run the applciation in the emulator. Second part was about how to use the debug functions within the SDK.


And the last part was a QA session with the SDK development team. There were many questions from the community about the SDK. However, there was one thing that bothered me and that was one person who kept "asking questions" and talking about many other things also than the Tizen SDK. Much good time from others was wasted with this non SDK related talker.


That was it, the conference is over. I had a lot of fun and got reasonable amount of information about the current status of Tizen and how to start hacking. It was also very nice to see the community and connect to others that are working with similar things. So thanks to Linux Foundation, Intel, Samsung and other sponsors that made this event a success.

Thursday, May 10, 2012

Tizen Developer Conference Day 2

I started my second day at the Tizen Conference by having a quite nice breakfast on the morning with some familiar faces. When enough energy was collected from the provided substances it was time to join to the Ballroom for the first keynote of the day. The first keynote was kept by the members of the Tizen Technical Steering Group members Imad Sousou from Intel and Jong-Deok Choi from Samsung, which was moved to this position from yesterday.


During the keynote there was couple of nice demos shown and some of the tizen features were described. The presentation itself gave very nice picture what is the status of Tizen in the handset type of devices. When the presentation was closing its end the audience got a nice surprise (well, it was sort of told in the registration as well so not really a surprise in the end), which was that every registered attendee would be given a Tizen Developer Device as a giweaway. The device hardware was presented as Dual Core ARM Cortex A9 1.2, 1G of RAM, 16G of Memory, GPS, WiFi, 8mpix camera etc. which was quite nice in the specs.


The device itself looked very much like the devices that the showcase presenters had already shown yesterday and I would guess that the device is the same. Too bad it is a bit bulky design and a bit large thus using it as a everyday device isn't really feasible, which is a bit of lost opportunity in my opinion as there was lot of devices given out for developer that could possibly use the device as everyday device and give much feedback.

After the keynote was over my feelings about Tizen was much more positive and I really was surprised even more that why this presentation was not given as the first one on day 1 as originally scheduled. It would have given much more positive feeling about the Tizen. Only thing that I was really especting in addition to the keynote was QA session with the TSG. Anyway thanks to Imad and Jong-Deok of the nice overview of the Tizen and live demos.

After the TSG it was time for Dr. Nagata from DOCOMO project to give a presentation, which was followed by James Pearce from facebook. After this all the keynotes of the conference were done.


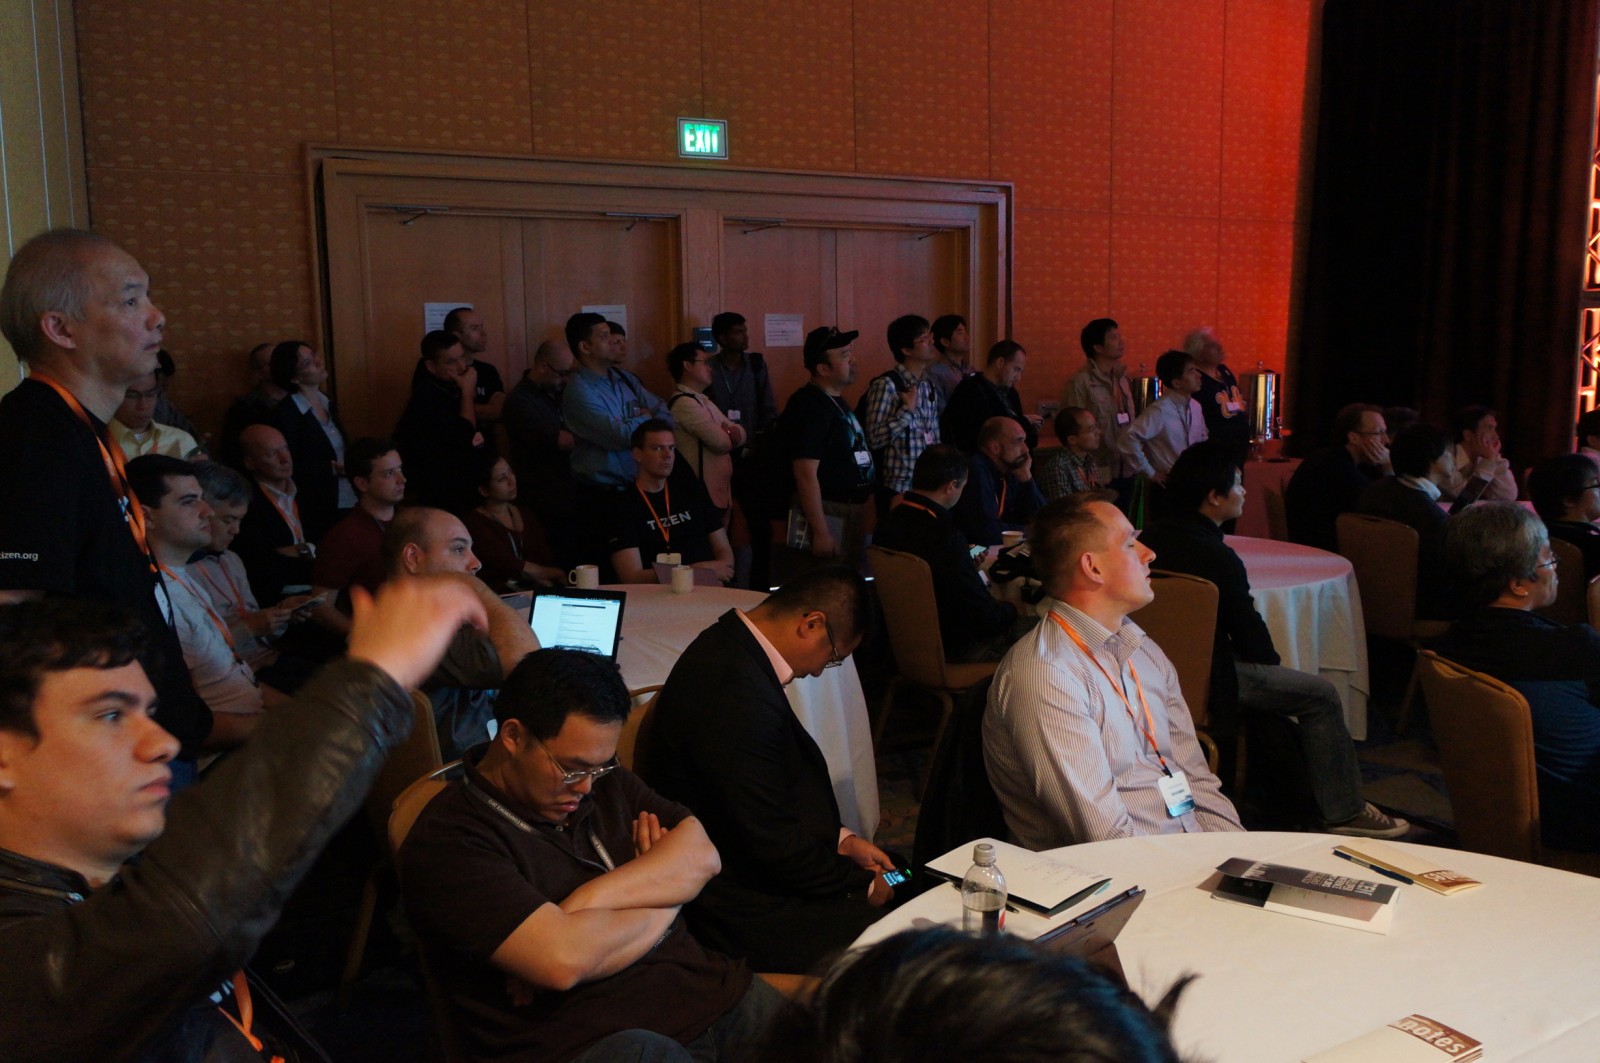
Tech Showcase and lunch followed the series of keynotes and the talks in five different tracks started. I selected which presentations mainly based on my own interest and went to listen the following ones. First Tizen Architecture by Sunil Saxena and Vincent Kwon and as usual with these architecture talks the room was full of people and some of us had to stand.


After the architecture presentation it was time to change room to Bayview. In Bayview I listened to "Engaging Open Source Projects, with a Corporate View" by Thiago Macieira and "Upcoming Technologies: Wayland and oFono" presentations by Jesse Barnes and Marcel Holtmann.

In the beginning of oFono presentation Marcel announced that it has been about 3 years today from the beginning of oFono and they wanted to celebrate their anniversary and cake as well as t-shirts were provided to the audience.


After the Marcel's ~20min presentation about oFono, Jessa talked about Wayland in the same slot, which ended also my visit to the rooms in the "middle floor" and it was time to go back to the Ballroom A again to listen the Orange presentation "Lessons Learnt from Orange in Developing HTML5 Application for Tizen".


When the talk by Orange ended it was time for the evening events and first there were snacks and drinks available in the showroom area where the companies were again showing their work around Tizen. Also another ultrabook lottery was done and one lucky attendee got a brand new device to play with.


After the lottery it was time to move to the buss and towards California Academy of Sciences for the evening event. In the evening event there was food, drinks and live music next to the natural history exhibition and planetarium.


After the evening event it was time for a game of Werewolf hosted by Dawn (thanks for this again) at the hacker lounge.


... and then it was time to start preparing for the third and the last day of the conference....

Tuesday, May 8, 2012

Tizen Developer Conference Day 1

The first day of Tizen Developer Conference is over and I wanted to do a quick recap of the day.. So here is how it went for me with my impressions of the day ..

For me the day started  with a breakfast on the nearby bagel place just around the corner of the hotel. And I must say that the bagel was quite nice and if we wouldn't be given breakfast upcoming days by the conference I could see myself going back to the place.


After having the breakfast we headed towards the hacker lounge and from there around noon Dawn Foster took us to a tour around the city where we saw many nice places and at least I got some very welcome exercise as well. :)


After the walk we went to the ground floor to register where we got tizen backbag that contained some tizen branded items, such as, t-shirt, coffee mug, universal power adapter (same that we got from the MeeGo Conference 2011 but with Tizen logo) and "screwdriver pen".


During the same time with registration the showcase demos were open and companies working with Tizen were demonstrating what they have done with Tizen. The demos were shown mainly with at the time unknown "developer devices" that based on the settings menu was called Fraser and had model GT-I9500 which refers to a samsung product line, e.g. Galaxy Nexus that I posted a demo running Nemo is called GT-I9250.


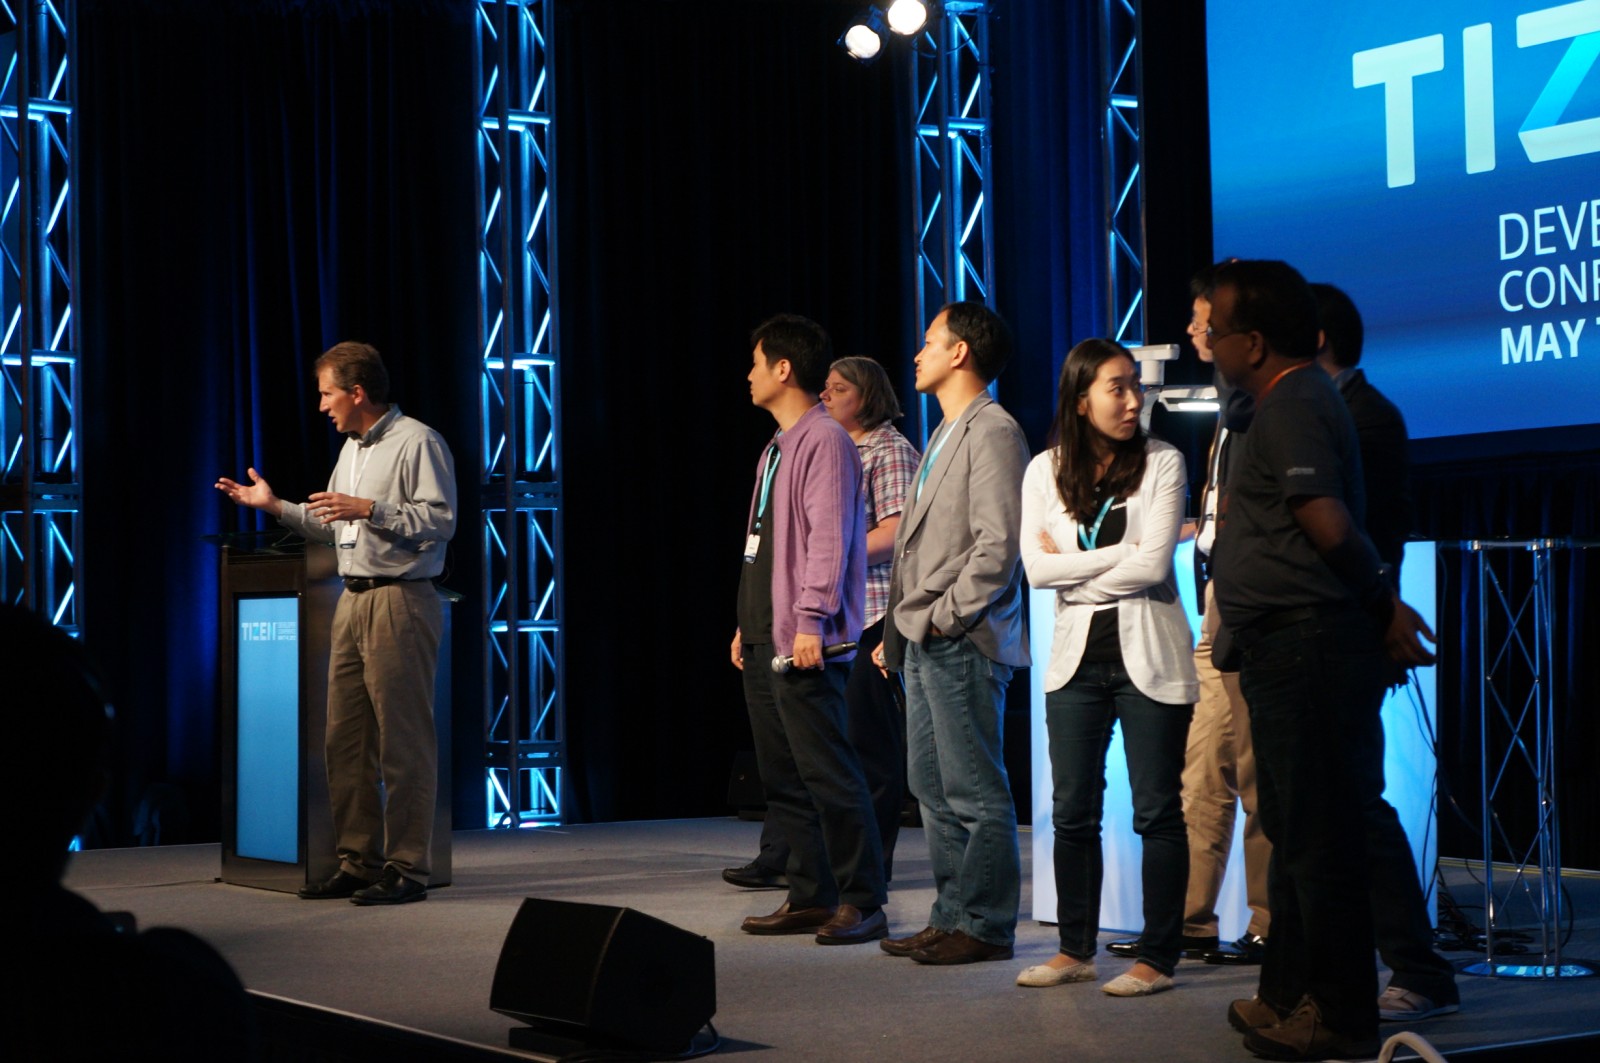
After the showcase demos the first keynote started and as a surprise to many the keynote was not held by Imad Sousou and Jong-Deok Choi but Jim Zemlin from Linux Foundation.


In the presentation Jim talked a lot about Linux again (anyone recall the Jim's keynote from MeeGo conference 2011 last year?) and didn't concentrate much to Tizen IMO. Also Android and Apple were mentioned so many times that at least to me it didn't feel like I was in the Tizen Developer Conference anymore.
 
Also during the evening it was told to me that the presentation has some familiar features so I did a bit of a research and found couple of similar things from the net. First one is from Embedded Linux Conference 2012 and second one is 2011 Enterprise Users' Meeting Japan (~20:18) last year. Can you see the similarities? :)

After the keynote there was food and drinks sponsored by the Tizen Association...


... and even later in the evening we had very nice session of Werewolf at the hacker lounge thanks to Dawn.

Sunday, April 29, 2012

Attending to the first annual Tizen Developer Conference

The first annual Tizen Developer Conference is starting in about a week and is held in Hyatt Regency at San Francisco, CA on May 7-9, 2012. I hope to see many familiar faces there. The conference schedule can be found from the conference website.

Thursday, April 26, 2012

Guide how to boot Nemo Mobile on Galaxy Nexus GT-i9250

I promised to publish a small guide how to boot Nemo Mobile on your own Galaxy Nexus phone instead of the default android. Here is a small guide how to do so. The process it self is quite simple and should be relatively safe as well, as you do not need to flash anything to try it out (if you don't count the possibly needed unlocking/rooting the phone).

In this guide it is assumed that one has android tools, such as adb and fastboot installed, also Linux is assumed but it should work also on windows with minor modifications.

The phone used was unlocked/rooted before I tried this, so that might also be required for following these instructions.

First thing is to download all the needed files.

mkdir -p /tmp/gt-i9250/
pushd /tmp/gt-i9250/
wget http://sage.kapsi.fi/sagestechblog/gt-i9250/2012-04-26.1/nemo-handset-armv7l-gt-i9250.img.bz2
wget http://sage.kapsi.fi/sagestechblog/gt-i9250/2012-04-26.1/vmlinuz-3.0.8-12.1.Mer-gt-i9250
wget http://sage.kapsi.fi/sagestechblog/gt-i9250/2012-04-26.1/mer-ramdisk.cpio.gz

Then push the rootfs image to the nexus.

# Create directory from which ramdisk reads the images during boot.
adb shell mkdir /sdcard/rootfs-images/
# Push image to the device adb push nemo-handset-armv7l-gt-i9250.img.bz2 /sdcard/rootfs-images/
# Lets uncompress the image before using it.
adb shell bzip2 -d /sdcard/rootfs-images/nemo-handset-armv7l-gt-i9250.img.bz2

After this is done power off your phone and load the kernel and ramdisk with fastboot to your device

sudo -i fastboot boot /tmp/gt-i9250/vmlinuz-3.0.8-12.1.Mer-gt-i9250 /tmp/gt-i9250/mer-ramdisk.cpio.gz
popd

After this the device should boot to the MTF based UX home screen.

What works:
  • USB serial "jig" works, with the right cable.
  • Touchscreen works
  • Xorg starts with standard fbdev (no 3D acceleration)
What doesn't work with this given image:
  • Applications do not start as the -software flag isn't forwarded properly
  • No window manager / application switcher (requires 3D)
  • No 3D acceleration
  • No USB networking
  • No WLAN
  • No Bluetooth
  • ...
Short video of the boot:


Happy hacking everyone.

Friday, April 13, 2012

Booting Nemo on Galaxy Nexus i9250

I have been trying to get Galaxy Nexus (i9250) to boot Nemo Mobile lately and finally got something working. Very big thanks for all of this (again) goes to Thomas (also known as dm8tbr at IRC) for building the cable (Guide) for me so that I could get the console output available and debug the boot process much faster.

Here is some logs
Mer release 0.2011 (Mer)
Kernel 3.0.8-g388ae9a-dirty on an armv7l

localhost login: root
Password:
[root@localhost ~]# cat /proc/cpuinfo
Processor       : ARMv7 Processor rev 10 (v7l)
processor       : 0
BogoMIPS        : 628.60

processor       : 1
BogoMIPS        : 628.60

Features        : swp half thumb fastmult vfp edsp thumbee neon vfpv3
CPU implementer : 0x41
CPU architecture: 7
CPU variant     : 0x2
CPU part        : 0xc09
CPU revision    : 10

Hardware        : Tuna
Revision        : 0009
Serial          : 0a3c22af0900f01a
[root@localhost ~]# uname -a
Linux localhost.localdomain 3.0.8-g388ae9a-dirty #32 SMP PREEMPT Fri Apr 13 00:10:54 EEST 2012 armv7l armv7l armv7l GNU/Linux
[root@localhost ~]# cat /etc/mer-release
Mer release 0.2011 (Mer)
BUILD: nemo-handset-armv7l-galaxy_nexux_i9250
[root@localhost ~]#
And here is a picture of the Nemo splash screen on the device \o/


There is still more work needed as e.g. the Xorg isn't starting yet and the bootup is quite unreliable, but this is only the beginning :)

Ps. I will be providing more information soon with guide how to replicate the work that has been done. When I get all the pieces together.

Sunday, November 20, 2011

PandaBoard, Mer and XBMC

It has been a while when I posted anything about my Pandaboard+MeeGo+XBMC HTPC project, this "pause" has been mainly because of lack of time. Now when Intel announced Tizen and MeeGo was announced to be more or less discontinued as such community started a new project called Mer.

Mer supports more architectures from the beginning than MeeGo did as well as it is a lot smaller and easier to maintain still keeping many of the things that were available in MeeGo as well. So after a while playing with Mer I decided to give the pandaboard and XBMC a go with it and after a while I got it running on my PandaBoard as well. Below is a small video clip that demonstrates the current status of my configuration:


So as shown on the video the XBMC on PandaBoard can already play video files and most of the XBMC features are working as well. Some of the missing parts from the adaptation are audio, WiFi and bluetooth as well as hardware accelerated codecs etc. Mainly because those are proprietary binary blobs and I haven't had time to test those yet.

Image is available for download at http://sage.kapsi.fi/Mer/images/0.20111120.1.CE.2011.11.20.1/mer-tv-armv7l-pandaboard/

Saturday, March 26, 2011

MeeGo Tablet UX on N900

Now when the MeeGo Tablet UX packages are published I managed to create an image containing the MeeGo 1.2 developer release with Tablet UX for the Nokia N900. Here is a short video showing some of the features of the image.
I'm also uploading the image and the .ks file to http://meego.openaos.org/ under the n900 directory in near future. File names will be:
  • tablet-armv7hl-n900-v01.README
  • tablet-armv7hl-n900-v01.ks
  • mg-tablet-armv7hl-n900-1.1.90.20110325.2233-mmcblk0p.raw.bz2
NOTE: If you create an image yourself with the .ks file provided the ctrl does not work as a exit button as shown in the video, but you need to modify the meego-ux-daemon package and add following patch:
--- meego-ux-daemon-0.2.0-more-home-keys.patch (revision 0)
+++ meego-ux-daemon-0.2.0-more-home-keys.patch (revision 2)
@@ -0,0 +1,12 @@
+diff -ruN --exclude='*~' meego-ux-daemon-0.2.0.orig/application.cpp meego-ux-daemon-0.2.0/application.cpp
+--- meego-ux-daemon-0.2.0.orig/application.cpp 2011-03-25 22:48:35.078772707 +0200
++++ meego-ux-daemon-0.2.0/application.cpp 2011-03-25 22:49:12.695193354 +0200
+@@ -222,6 +222,8 @@
+
+ grabHomeKey("Super_L");
+ grabHomeKey("Super_R");
++ grabHomeKey("Control_L");
++ grabHomeKey("Control_R");
+ grabHomeKey("XF86AudioMedia"); // WeTab's corner key
+
+ menu = grabKey("Menu");

Enjoy you new MeeGo experience on Nokia N900.

Tuesday, March 15, 2011

Guide how to install XBMC on MeeGo 1.2

Many asked how they can get the XBMC running on their own MeeGo devices at the time I posted the first video about the XBMC running on top of MeeGo. I finally had time to do some more work on it and created new video where XBMC is running on both Intel and ARM based devices. Also this time I wrote some instructions how all of you can install the XBMC to your own devices as well.

The guide and the video is posted in CybercomChannel blog, which is a blog owned by the company called Cybercom, that I'm currently working for.

Thursday, March 3, 2011

Creating bootable Pandaboard MeeGo image with MIC

Here is a quick guide how to create bootable Pandaboard image with MIC.

First of all you need to install MIC and I personally recommend git master because that has the best support for ARM bootstrap installation on non-official MeeGo .ks files. However any MIC should do that is taken from git master after 10th December 2010 that includes the omap vfat patch. The git master can be installed e.g. with following commands:

git clone git://gitorious.org/meego-developer-tools/image-creator.git
cd image-creator
make
sudo make install
cd ..


NOTE: You might need to install some additional packages for more information see MeeGo wiki.

After you have installed the MIC image creator you can start creating the actual image. For this you first need to get a .ks file, in this guide .ks file is downloaded from my pandaboard-image-configuration clone that I have modified and tested. This branch does only bring up the xterm for now as it is just a proof that MIC can actually create an image with suitable partitions for pandaboard.

mkdir panda-image
cd panda-image
wget http://gitorious.org/~sage/pandaboard/sages-panda-image-configurations/blobs/raw/pandaboard/handset/handset-armv7l-panda.ks
sudo mic-image-creator -a armv7l -c handset-armv7l-panda.ks -f raw --run-mode=1 --pkgmgr=yum


NOTE: it seems that the zypp packagemanager does not support all of the kickstart features yet so the --pkgmgr=yum option is required to be used with my .ks file.

After this the mic-image-creator starts creating the image, which will take a some time depending your computer and network speed. When the process is ready MIC will inform you where the image file can be found, e.g.,

Your new image can be found here:
/home/sage/panda-image/meego-handset-armv7l-panda-1.1.90.20110303.1939-raw/meego-handset-armv7l-panda-1.1.90.20110303.1939-mmcblk0p.raw
/home/sage/panda-image/meego-handset-armv7l-panda-1.1.90.20110303.1939-raw/meego-handset-armv7l-panda-1.1.90.20110303.1939.xml


Next thing is to put the image to the SD card, for this you can use the "Installing rootfs on external MMC card" section of MeeGo N900 installation guide.

Enjoy your new pandaboard image. If you have any problems booting the image let me know.

Thursday, January 6, 2011

Lenovo N5901 Keyboard for my HTPC solution

I finally received the Lenovo N5901 keyboard that I ordered for my HTPC solution. I also recorded a unboxing video of the keyboard that can be seen below. I will post some user experiences after I get things running.

Thursday, December 30, 2010

Running XBMC on Nokia N900 with MeeGo


Because my goal is to create new HTPC solution from my Pandaboard there is a need for proper HTPC software as well. I have used XBMC in the past a bit and have found it very good solution for HTPC usage so at least for now the plan is to get my HTPC solution to use XBMC as the software. Thanks to the XBMC community from providing this very good piece of software.

I spend some time on my vacation to compile the XBMC 10.0 to MeeGo ARM. This took couple of days to get done with all the dependency packages, graphics problems and things like these but I finally got it running and as an example of XBMC running on MeeGo on ARM I uploaded a video of Nokia N900 running XBMC.
As you can see from the video there is still some things to check and figure out, but it is already running which is very good sign. I am going to do the same on Pandaboard as soon as there is gles hardware acceleration available on that platform on top of MeeGo.

Thursday, December 23, 2010

Changing Nokia E51 body

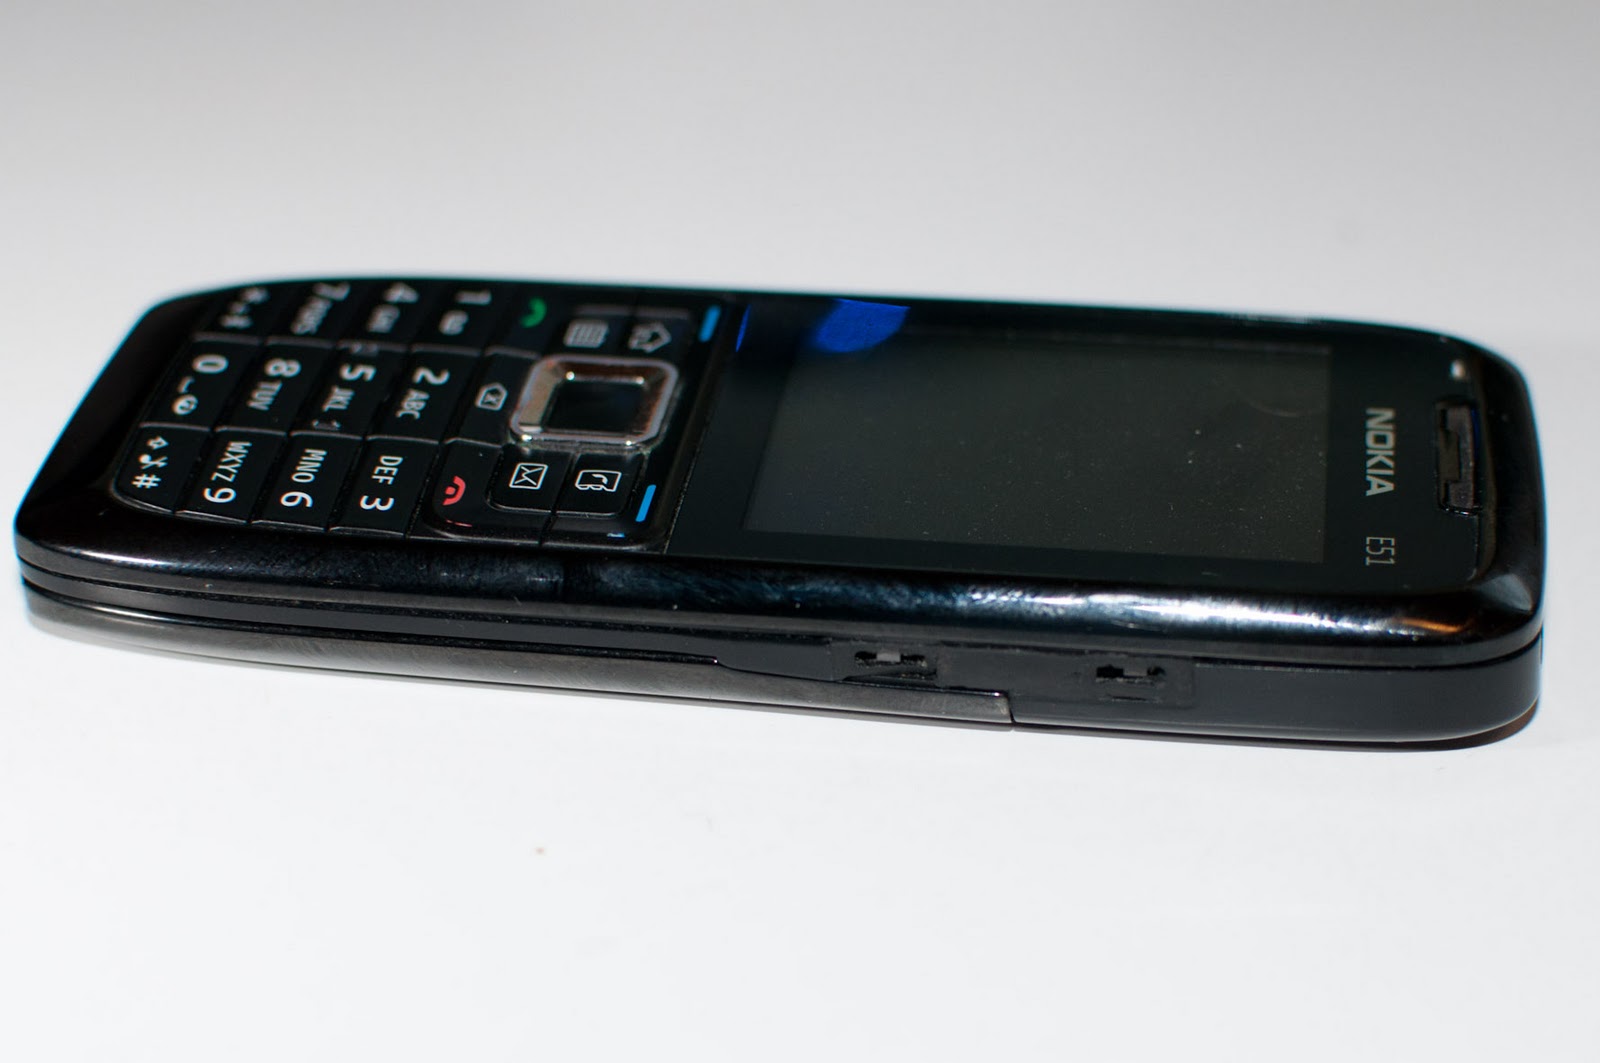
I have Nokia E51 that has been in very active usage for couple of years. During this time the side buttons have worn "a bit" as shown in the photos.
As it can be seen the functionality of volume and power buttons is not as good as it used to be which made it a bit hard to use phone at varying environments where background noise levels changed. To fix this problem I ordered an original spare part to my phone. In addition to the body I ordered one needs also a torx T6 screwdriver and knive.

The dissemble is started by removing back cover, microsd card, SIM card and the battery.
First actual thing is to open four (T6) torx screws that are found under the back cover.  After opening these four screws the front cover and keypad can be put a side.


Under the front cover there was two more (T6) torx screws on the top of phone and two clips next to the battery, one on both sides. Then the mainboard of the phone can be separated from the body.
After these the only things left to the body are speaker/antenna and the camera cover. The speaker can be just pulled out of the cover as the screw that hold it in place is already opened. The camera cover can be gently separated with knife.

Before I put the parts back together I took some comparison picture of the old and new body and I think everyone can see the difference. :)


After cleaning the parts a bit I assembled the phone in reverse order. This whole process was in my opinion very simple and took me about 30 minutes to do.And here is one more photo of the result.